Doesn’t paper mache just take you right back to your childhood? I remember long summer afternoons when my mother and I would get our hands all messy and squishy making our very own paper mache dough from scratch!
Just making the dough—we called the lumpy paper that and the name stuck—was super fun, but why stop there? You can make a ton of craft items with it, like little trinket bowls, ornaments, and even paper mache alphabets.
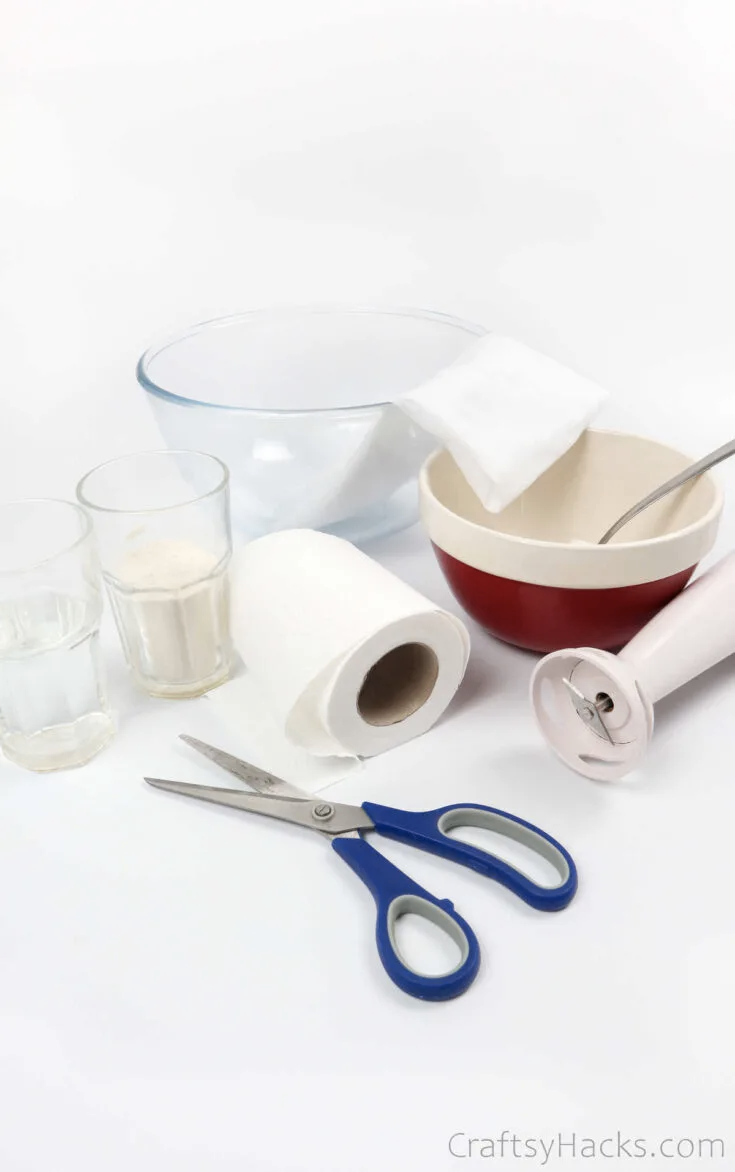
Supplies and Tools You’ll Need for Paper Mache
Here’s a list of supplies and tools you need to make your paper mache dough:
1/2 toilet paper roll
Cheesecloth
1/2 glass of water
1/2 glass of wheat flour
Spoon
Blender
2x bowls
How to Make Paper Mache
You should definitely consider laying out plenty—and I mean plenty—of paper towels or newspapers around you while you work on this DIY project. It’s going to be messy right from the get-go.
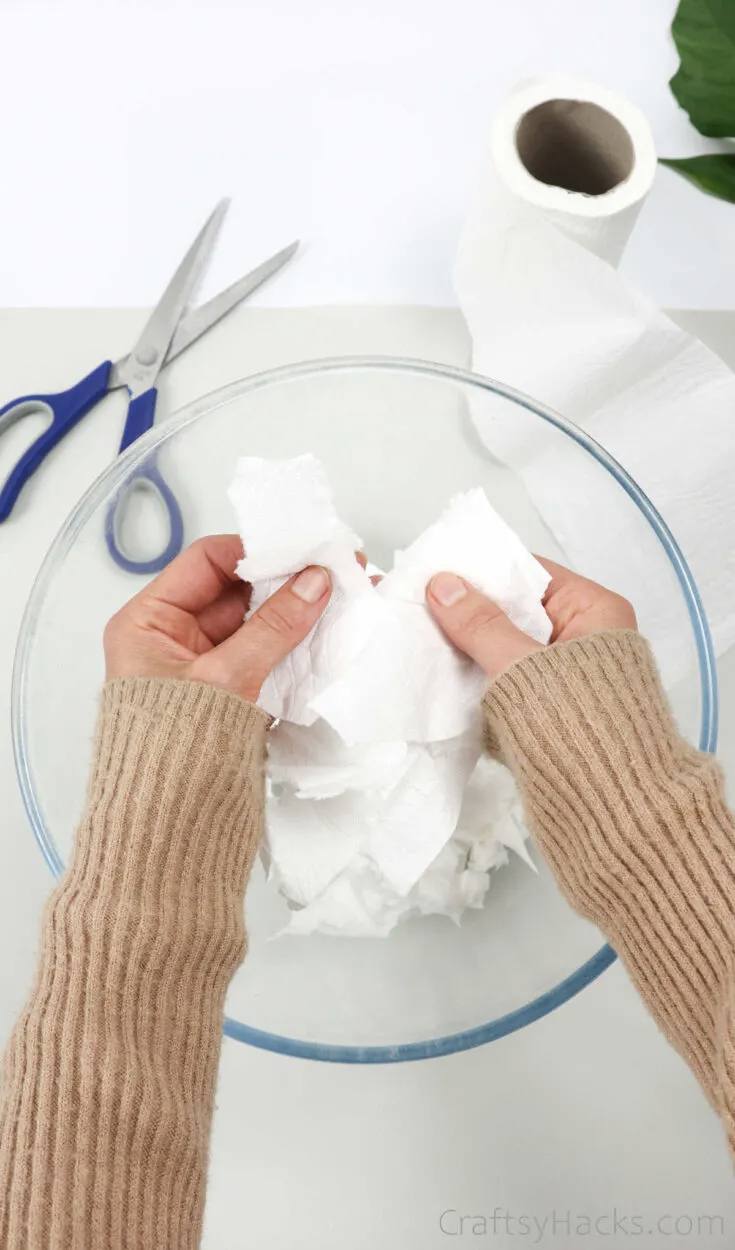
Step 1
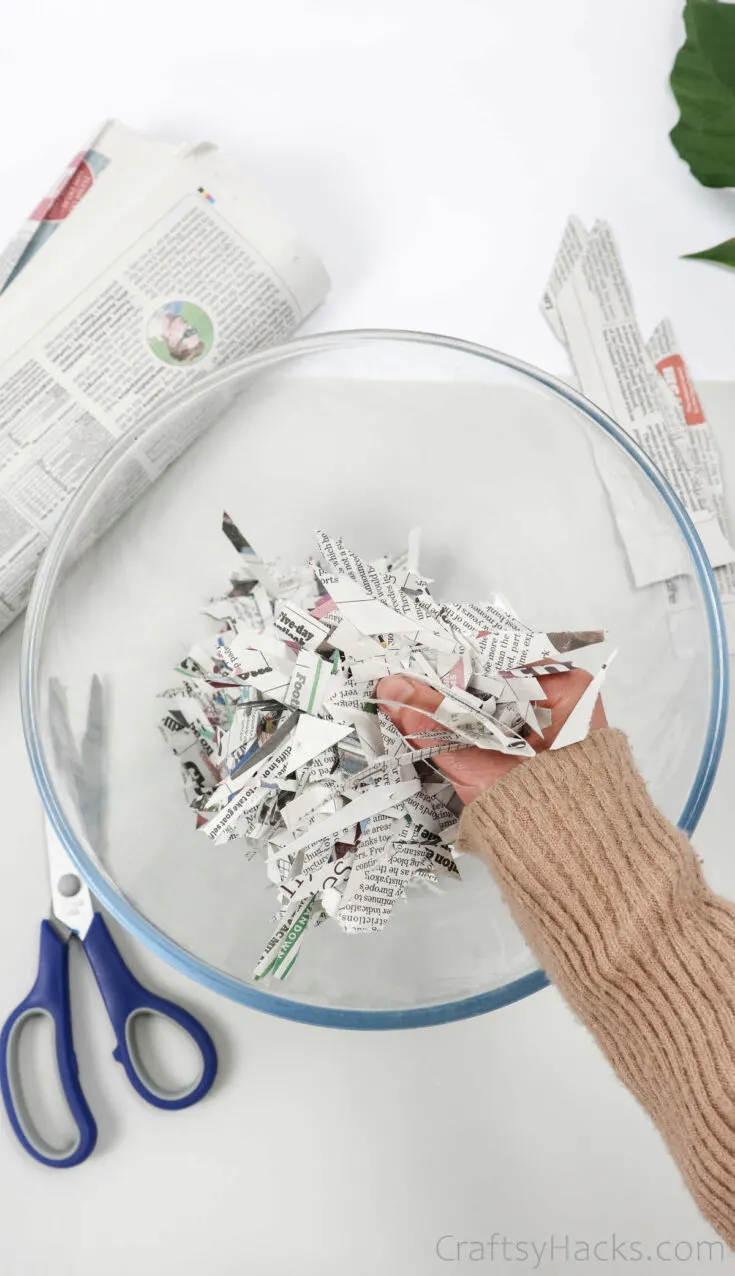
If you’ve laid out newspapers over your work surface, you can get right down to the fun and therapeutic part of this project: shredding paper!
Go ahead and start ripping your paper into smaller pieces before putting them in a bowl.
You can definitely use newspapers, as well. Just remember to tear the newspaper into really small pieces as the dough will end up thicker and harder if you don’t.
Step 2
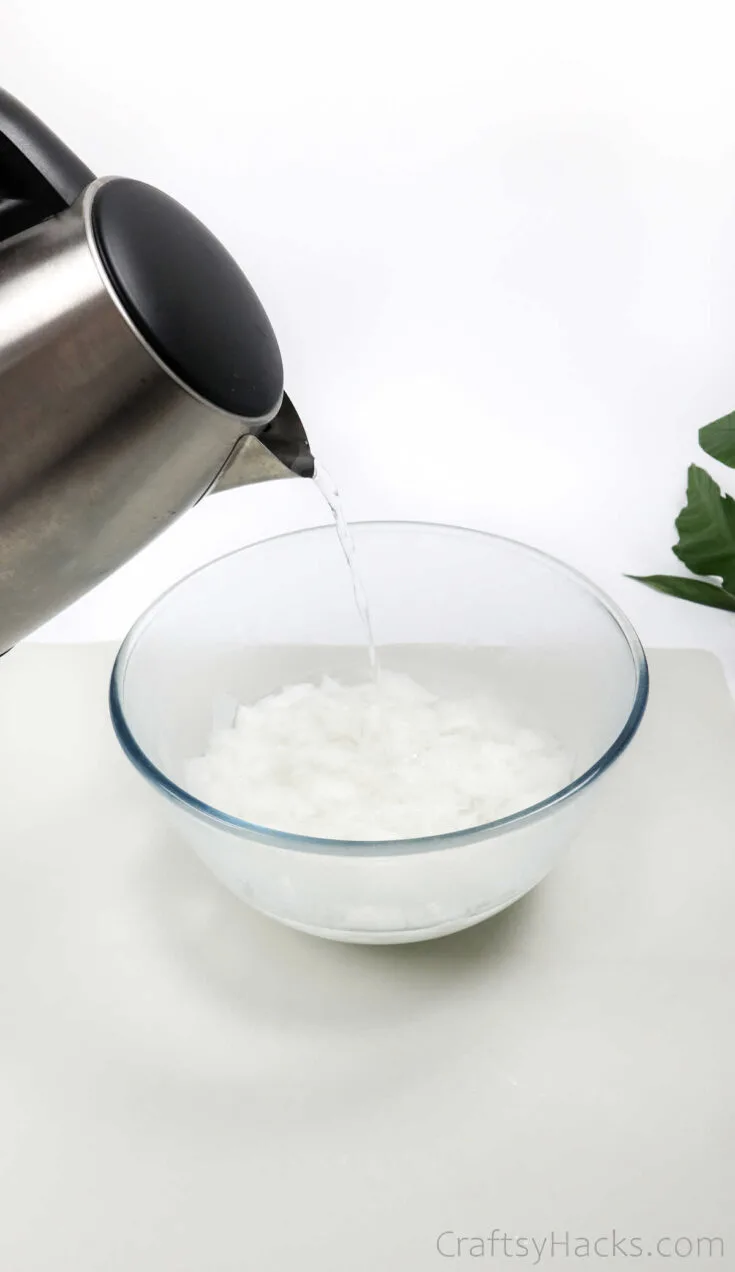
While you’re shredding the paper, put a kettle on. It’s not just to make yourself a cup of tea, although you definitely should. You’re going to pour boiling water over your shredded paper and let it sit for a couple of hours.
The hot water helps with breaking down the cellulose, and your paper will get all soft and squishy. Don’t skip this step, though. When you let the paper sit in the boiling water, your dough will end up more pliant.
Also, if you use newspaper, then you will have to let it sit in the water overnight. Newspaper is much thicker and needs more time to soften and for the cellulose to break down.
Step 3
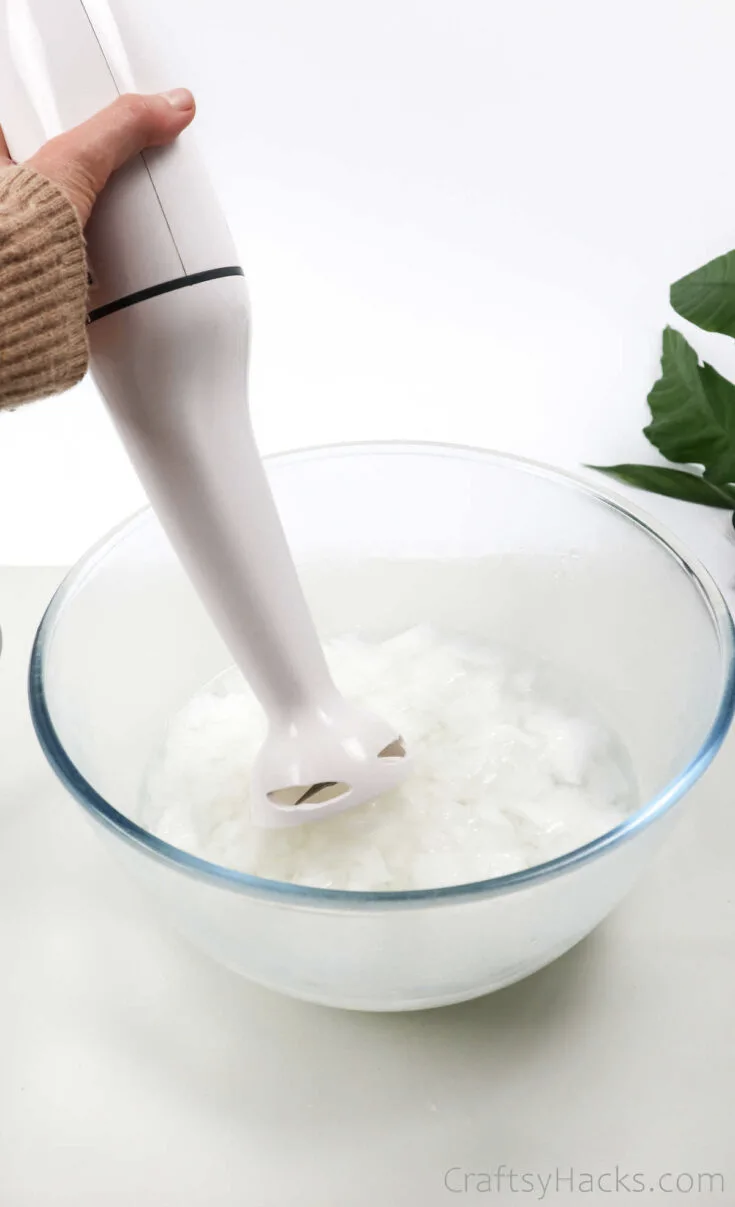
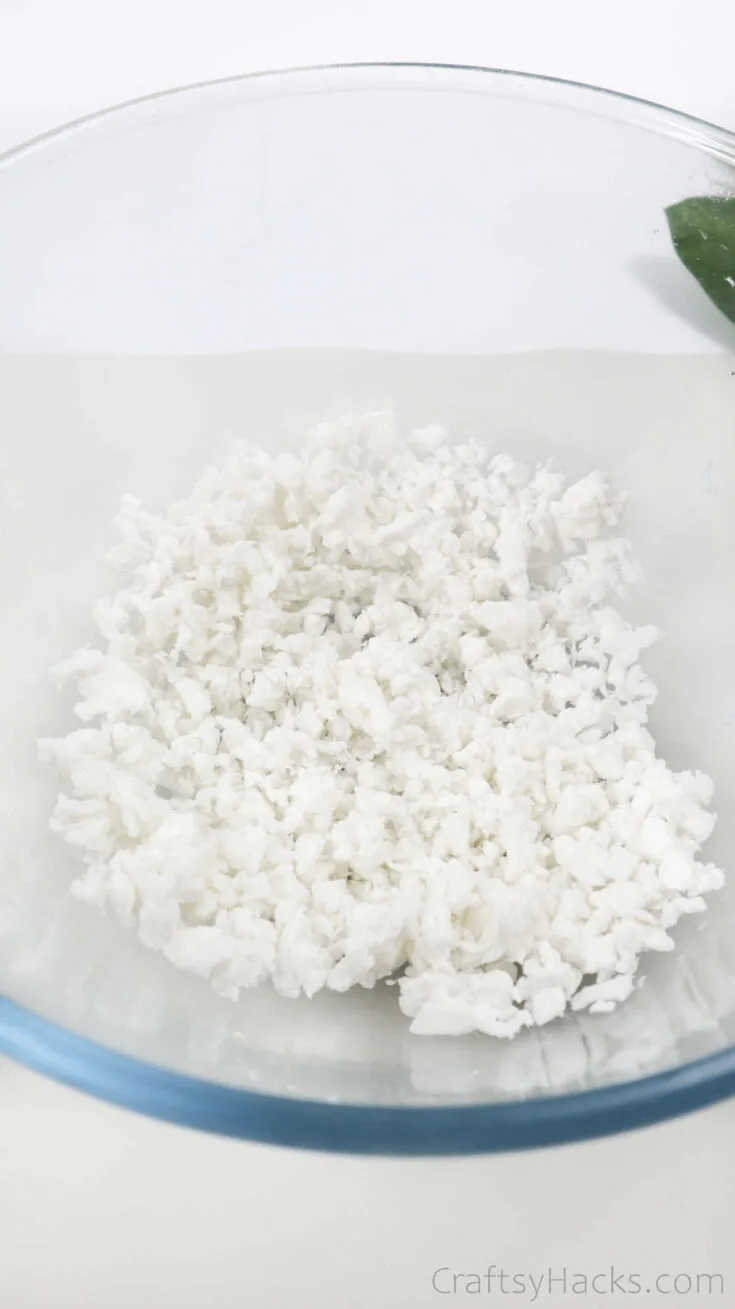
Next, when you’re sure your paper has been sitting in the water long enough, grab a hand blender and mush everything into pulp. You will either love the squelching sounds you’ll hear, or you won’t.
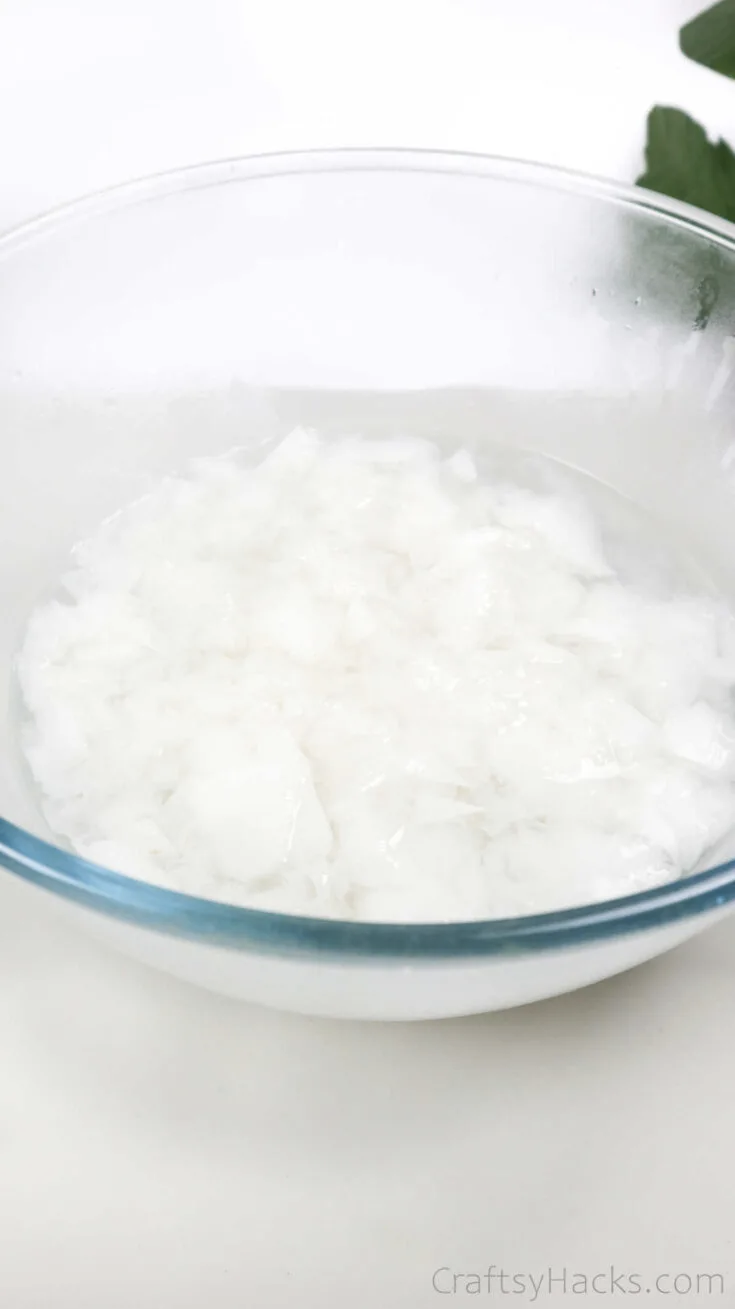
Stop pulping the paper when it looks something like this.
Step 4
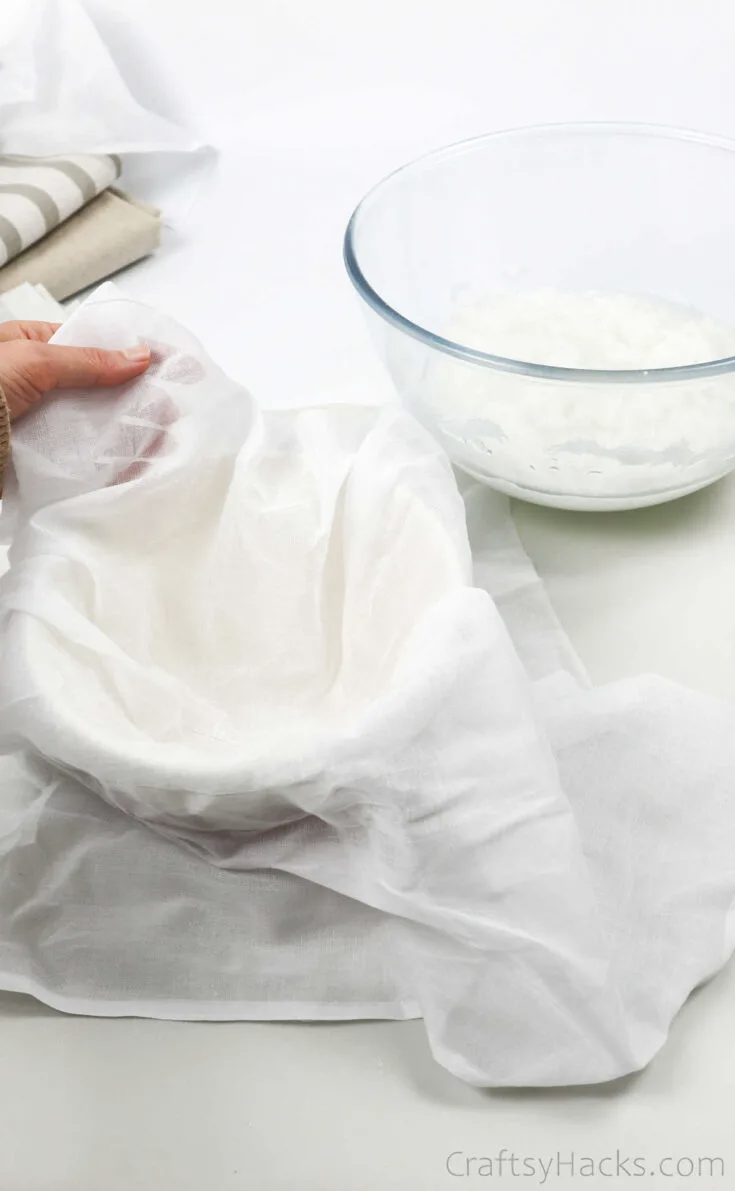
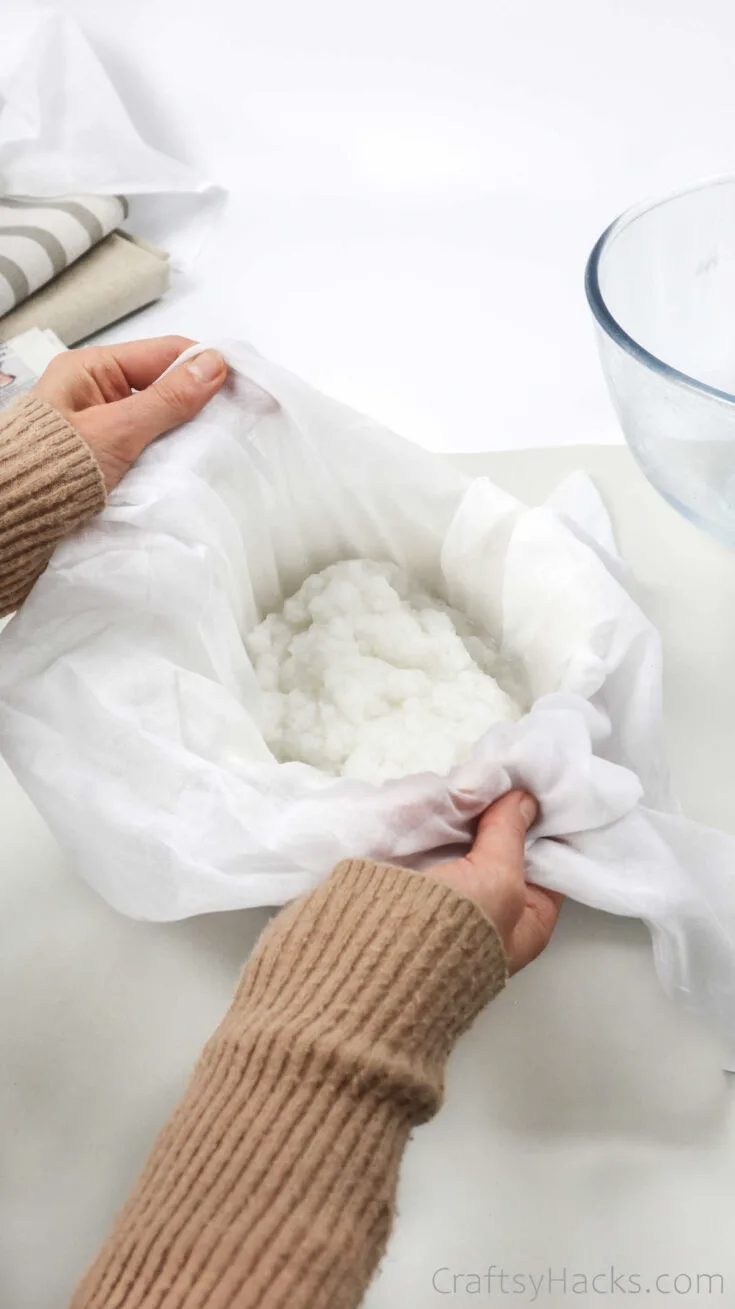
It’s time to strain your pulp and drain all that water. Place a cheesecloth over a big bowl and carefully pour your paper pulp into the cloth.
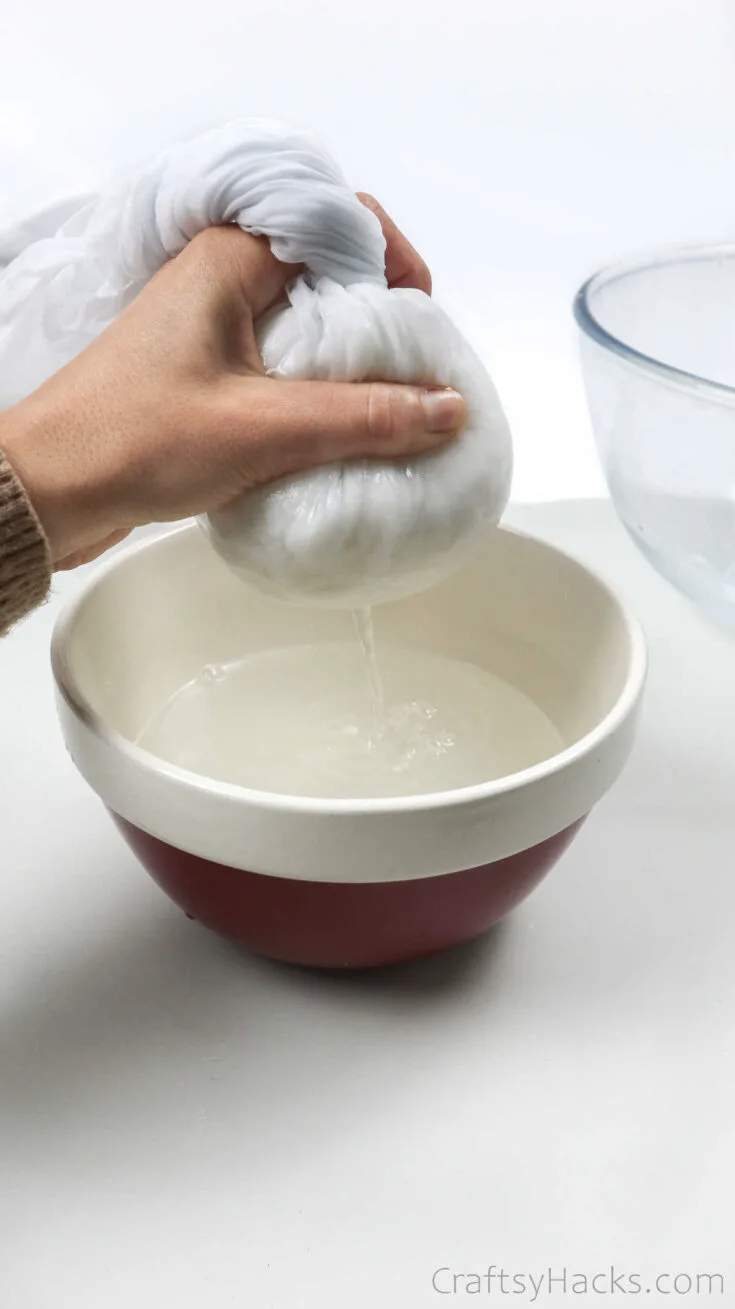
Gather the ends and squeeze the excess water out of the pulp into the bowl below. If you think you’ve squeezed enough, just do it again, just to be extra sure!
Step 5
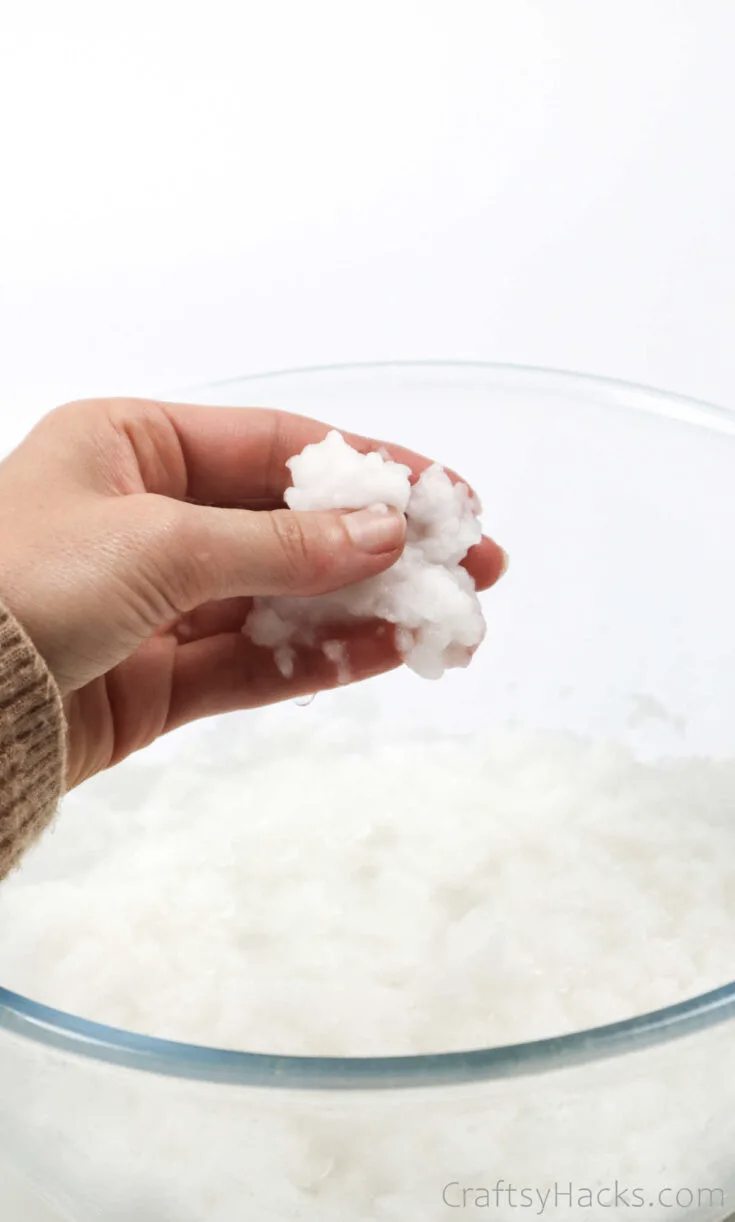
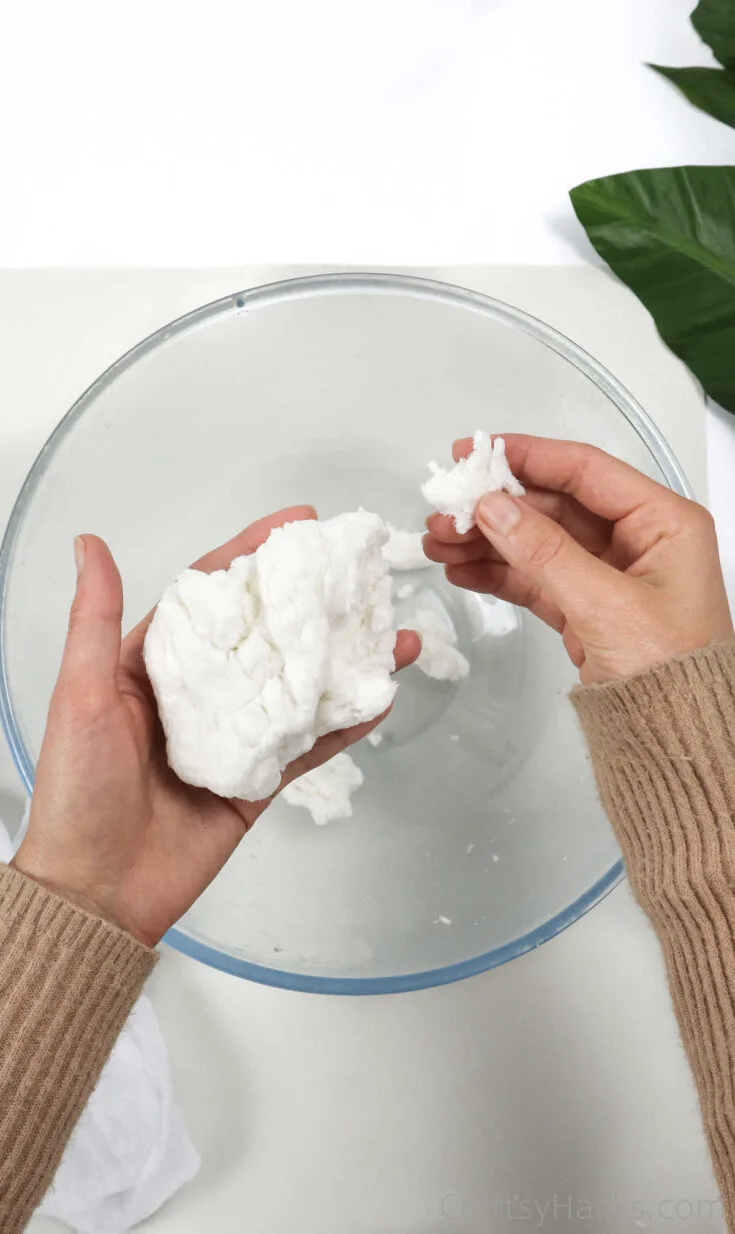
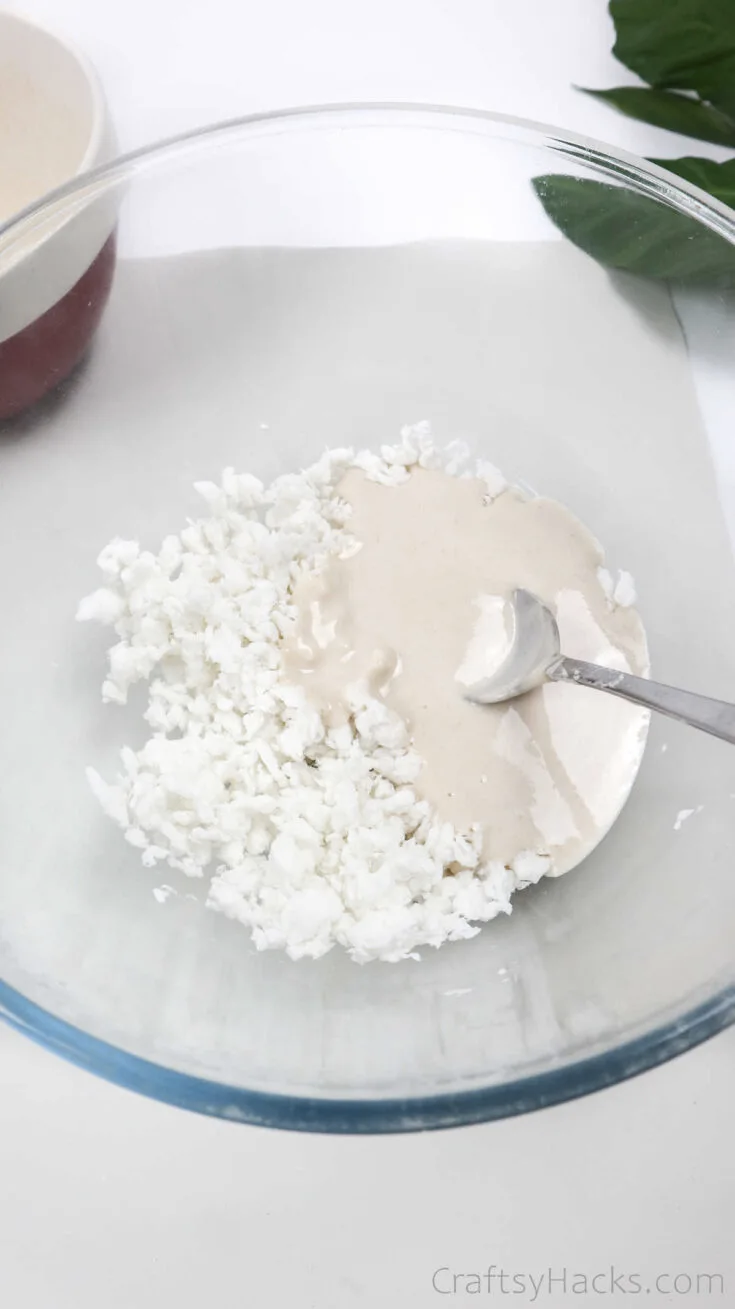
When you take the pulp out of the cheesecloth, it should look something like this. Break the pulp into little pieces and put them into a bowl.
If I didn’t know better, I’d say it looks an awful lot like ricotta or cottage cheese.
Step 6
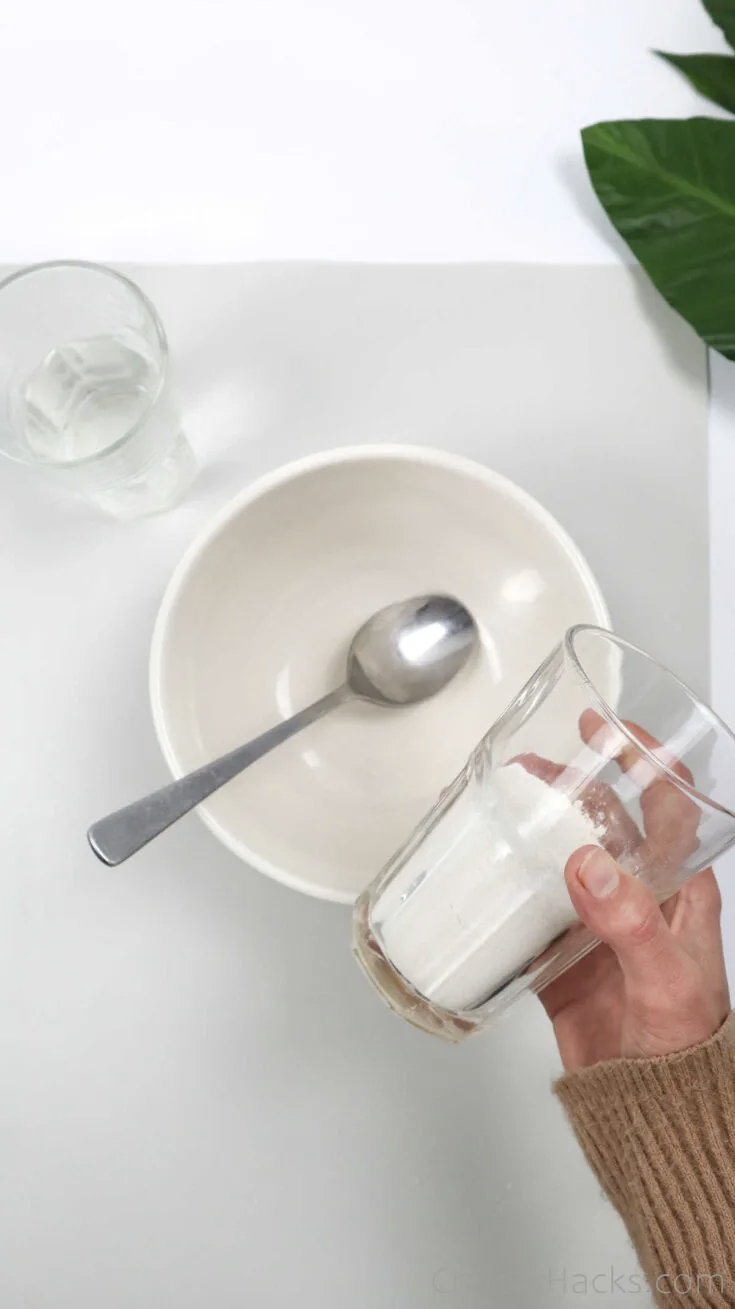
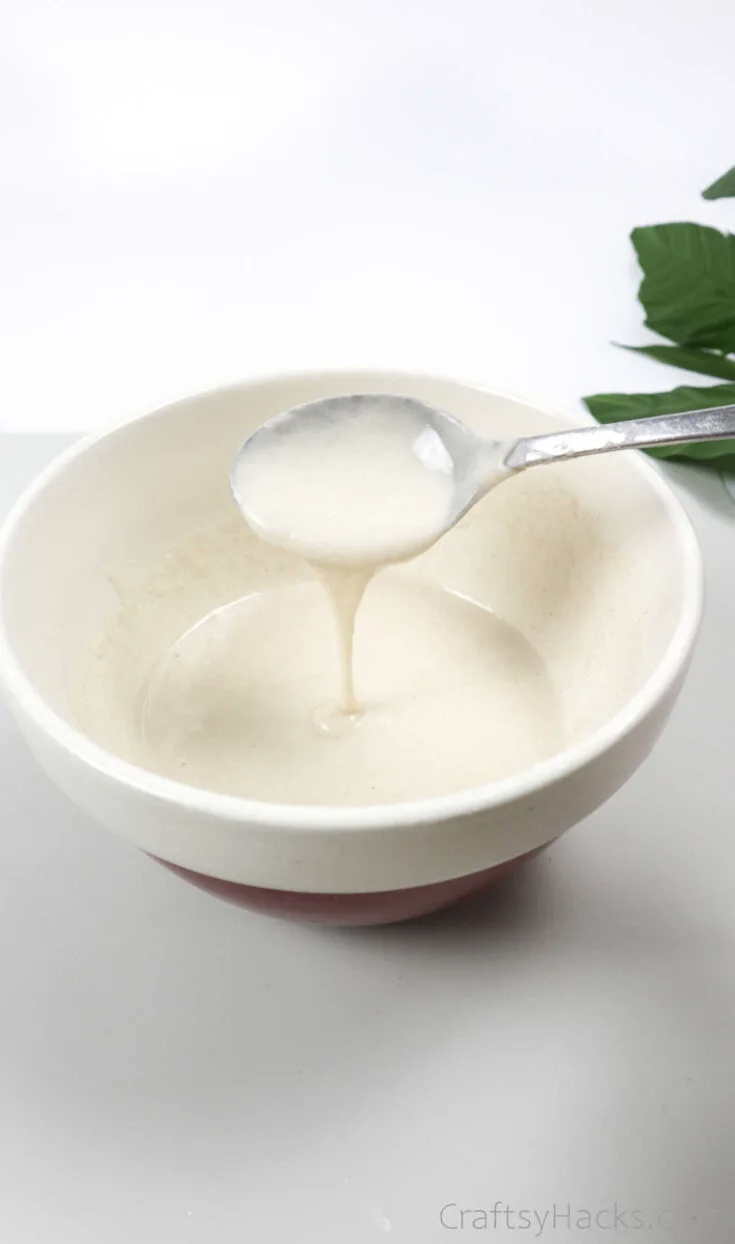
Stir your water in—not all at once, but in parts so that the flour doesn’t turn lumpy. Your paste should be smooth and sticky but not runny. You will need to cook this paste, so to speak. Place the contents in a saucepan with the heat on low.
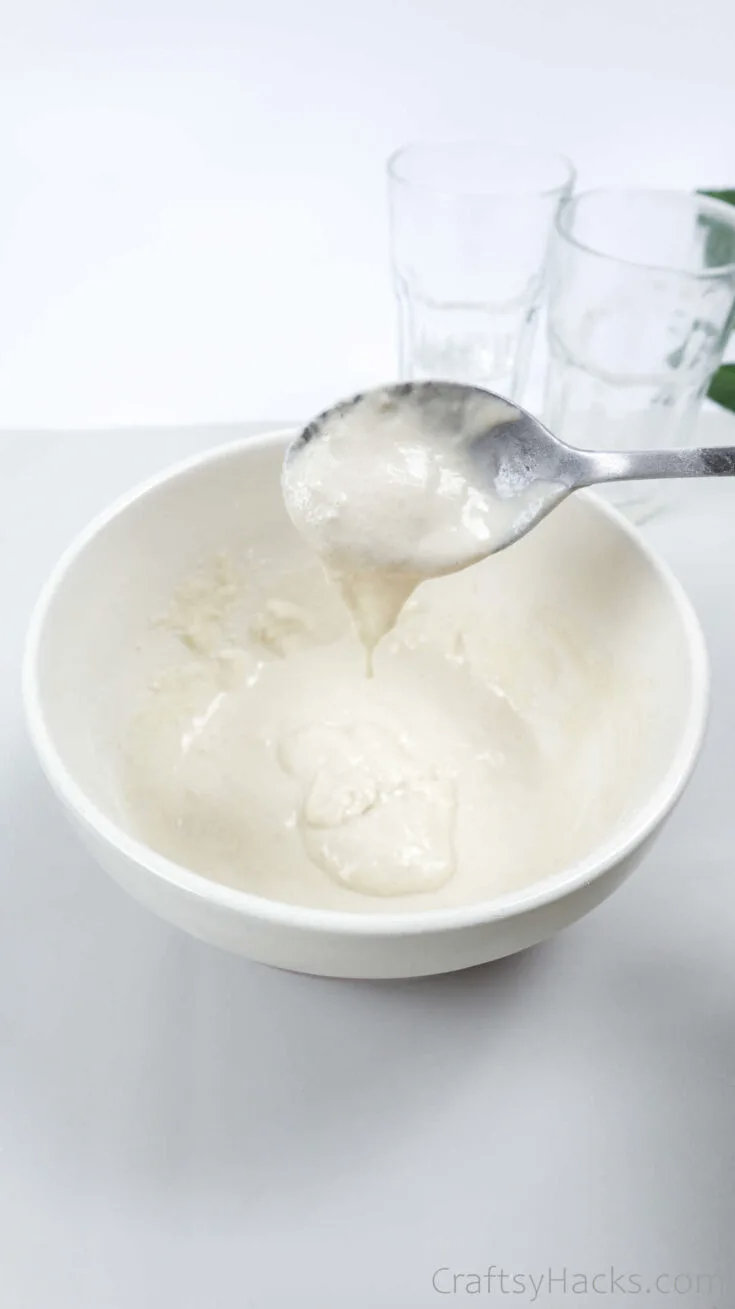
The mixture needs to be heated for around five minutes, or until the water evaporates and you have a thick and creamy paste. You have to keep stirring the paste constantly, or it will burn.
Alternatively, you can pop it into a microwave. Heat the paste for 15-20 seconds, take it out, stir vigorously, and then it goes in there again for another round. Repeat this a few times till the paste thickens.
Step 7
Spoon the paste onto the pulp.
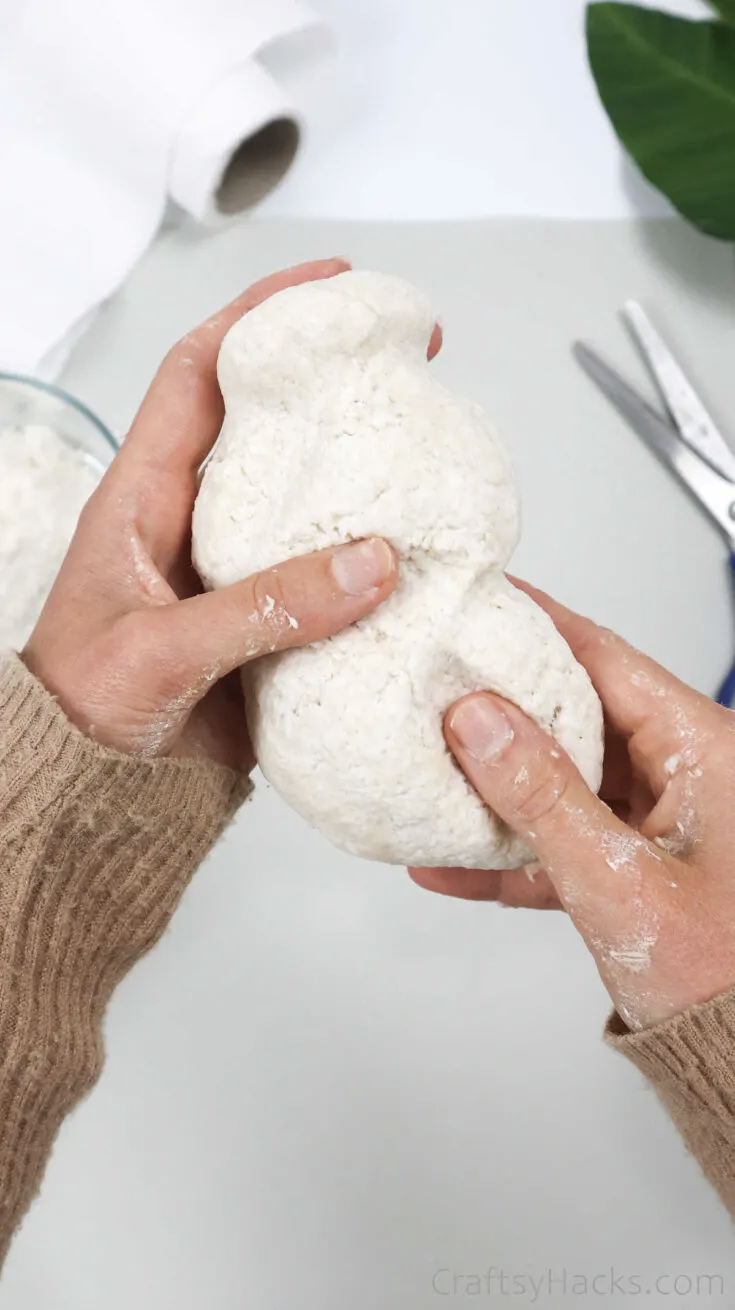
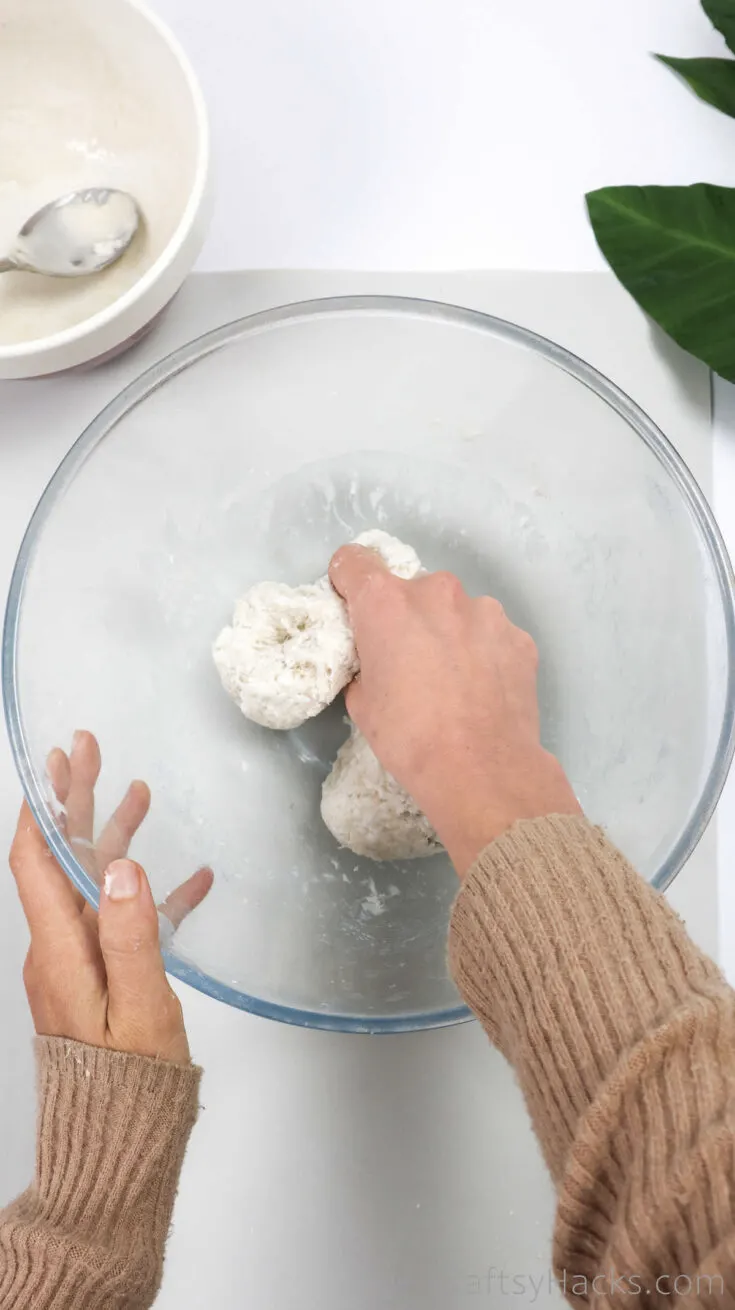
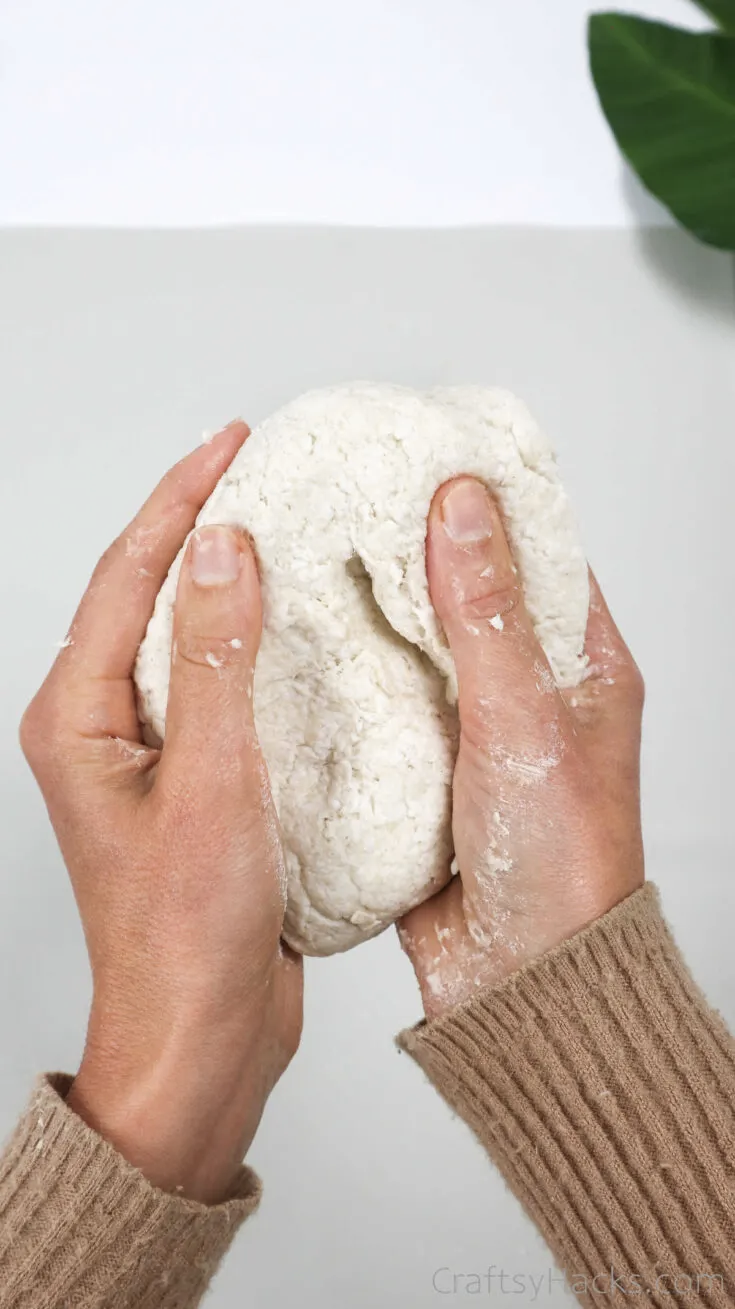
This part is my absolute favorite: rolling and kneading the dough. But first, roll up your sleeves; it’s going to get messy.
If your dough is wet, just sprinkle a little flour over, and keep rolling. If it’s too dry, just a few drops of water should help soften it. Kids, in particular, will love this part of the activity!
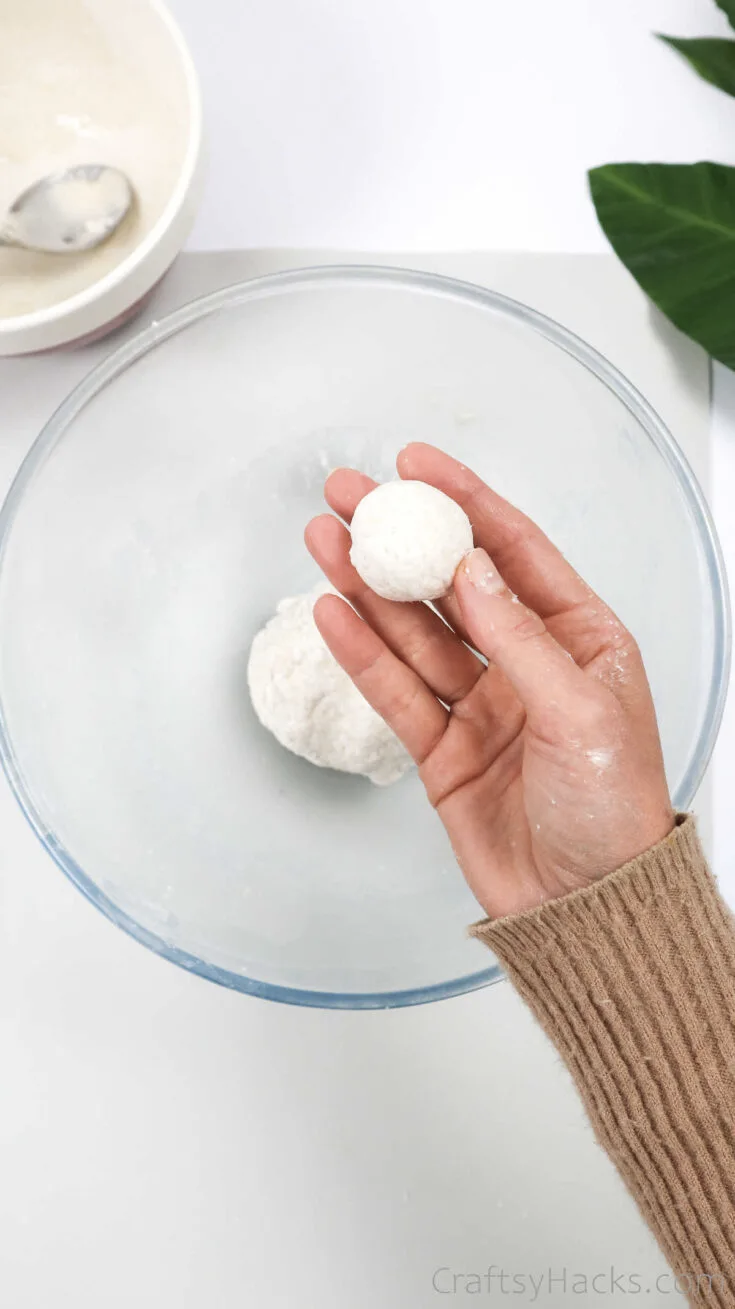
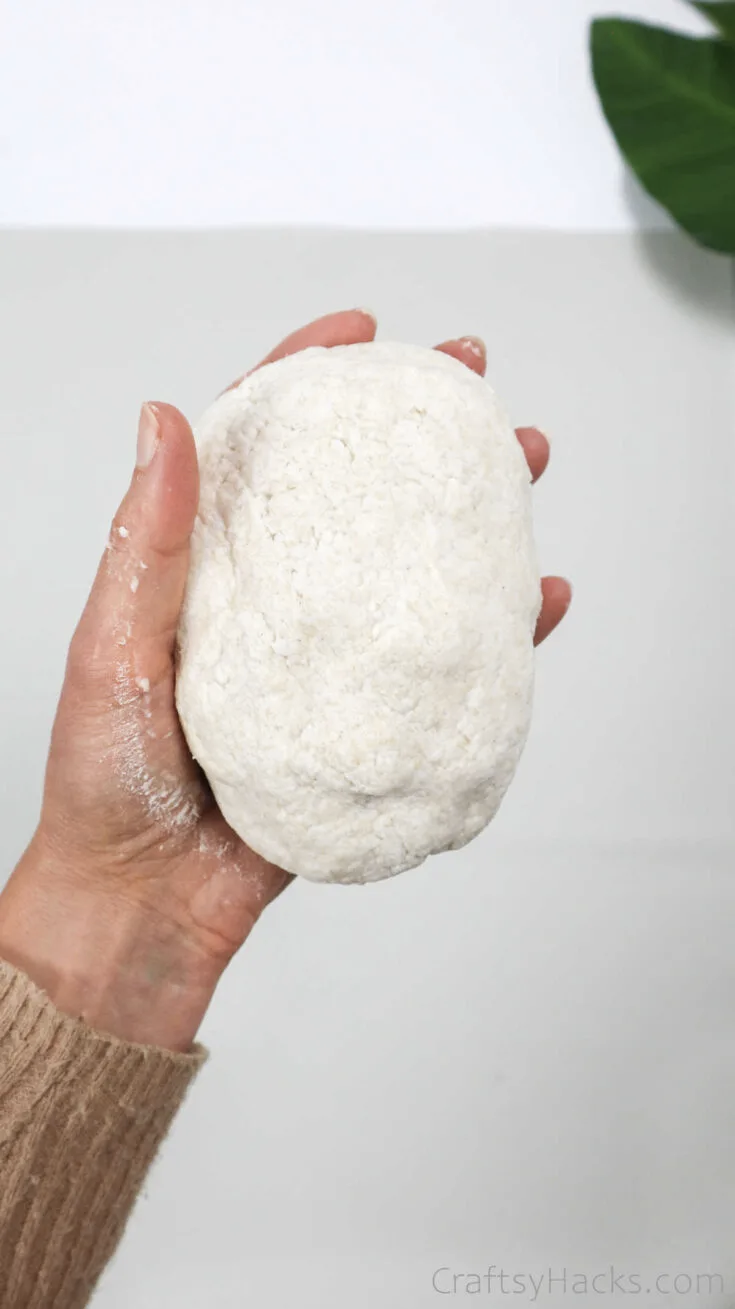
When you’re all done, your paper mache dough will look like this—good enough to eat and even better to start making your paper mache craft items.
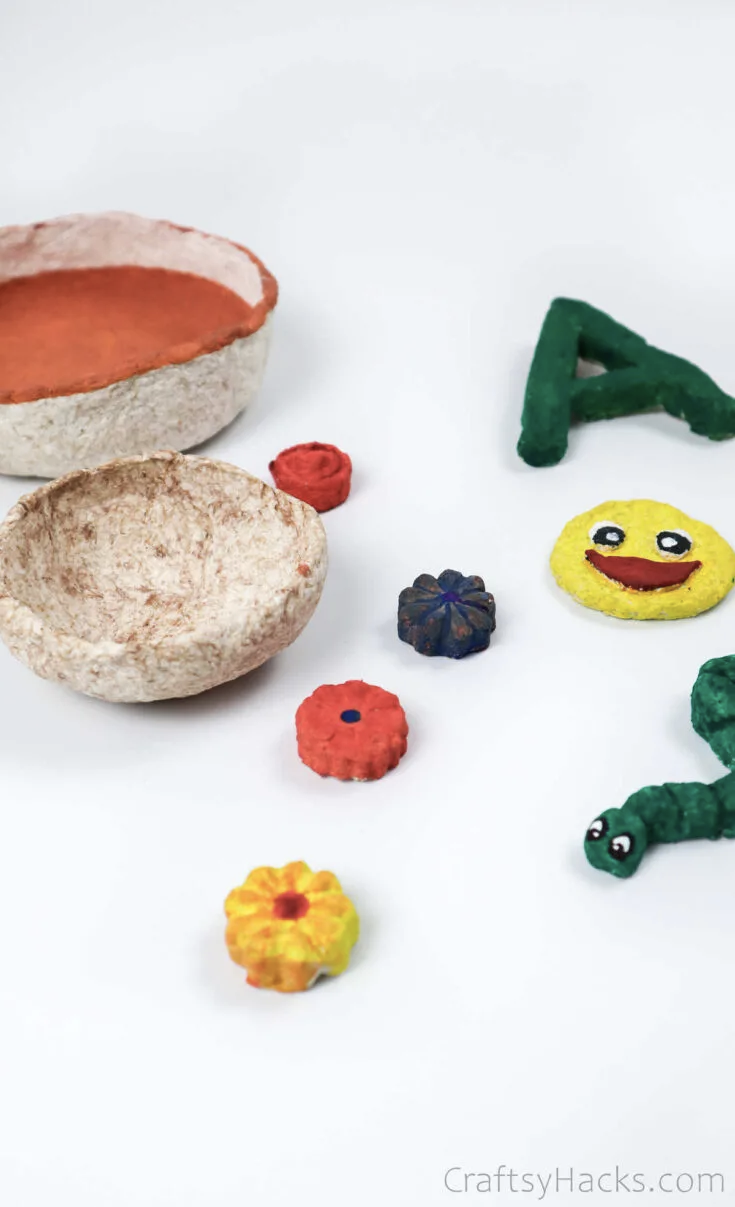
What Can I Make from Paper Mache?
There’s absolutely no limit to what you can do with paper mache. Just making the dough can be a great activity, but when you do have the dough ready, you can make a ton of things.
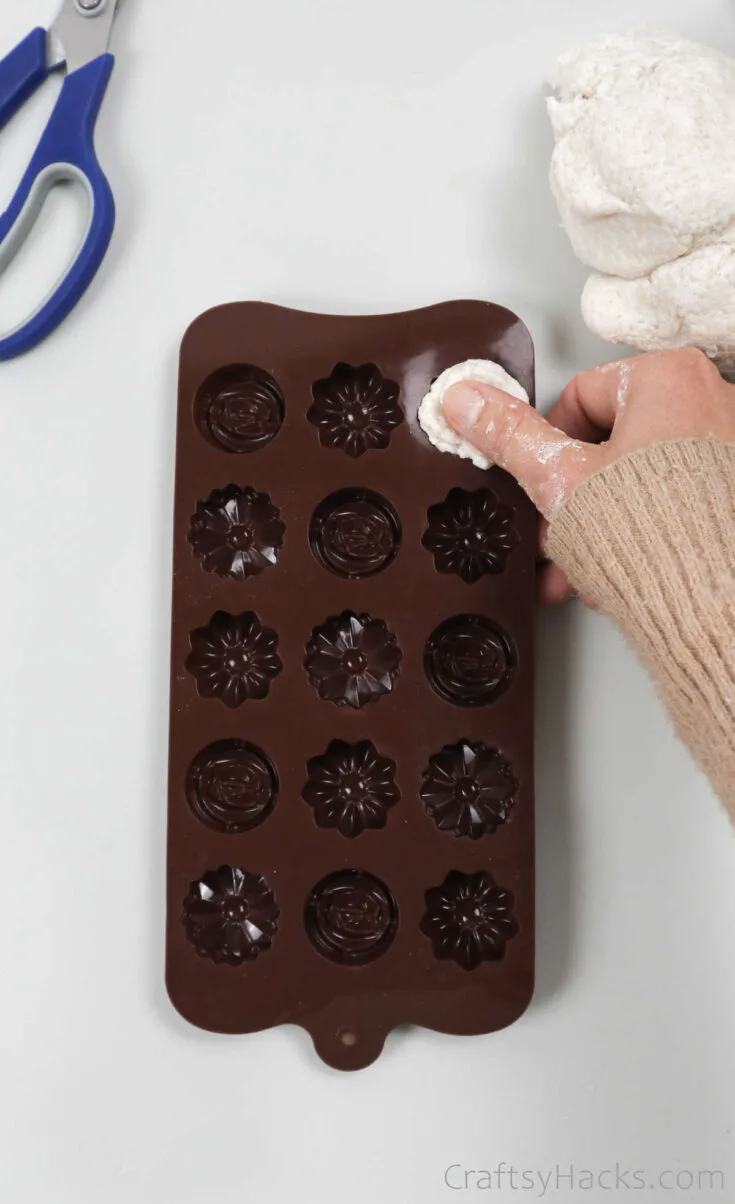
If you have a chocolate or candy molk just press the dough into it and flatten it out. When it’s dry, you can pop it out, paint it, and use it as ornaments and baubles.
Hope you picked up or created an idea of your own using this article.